
2026-09-12
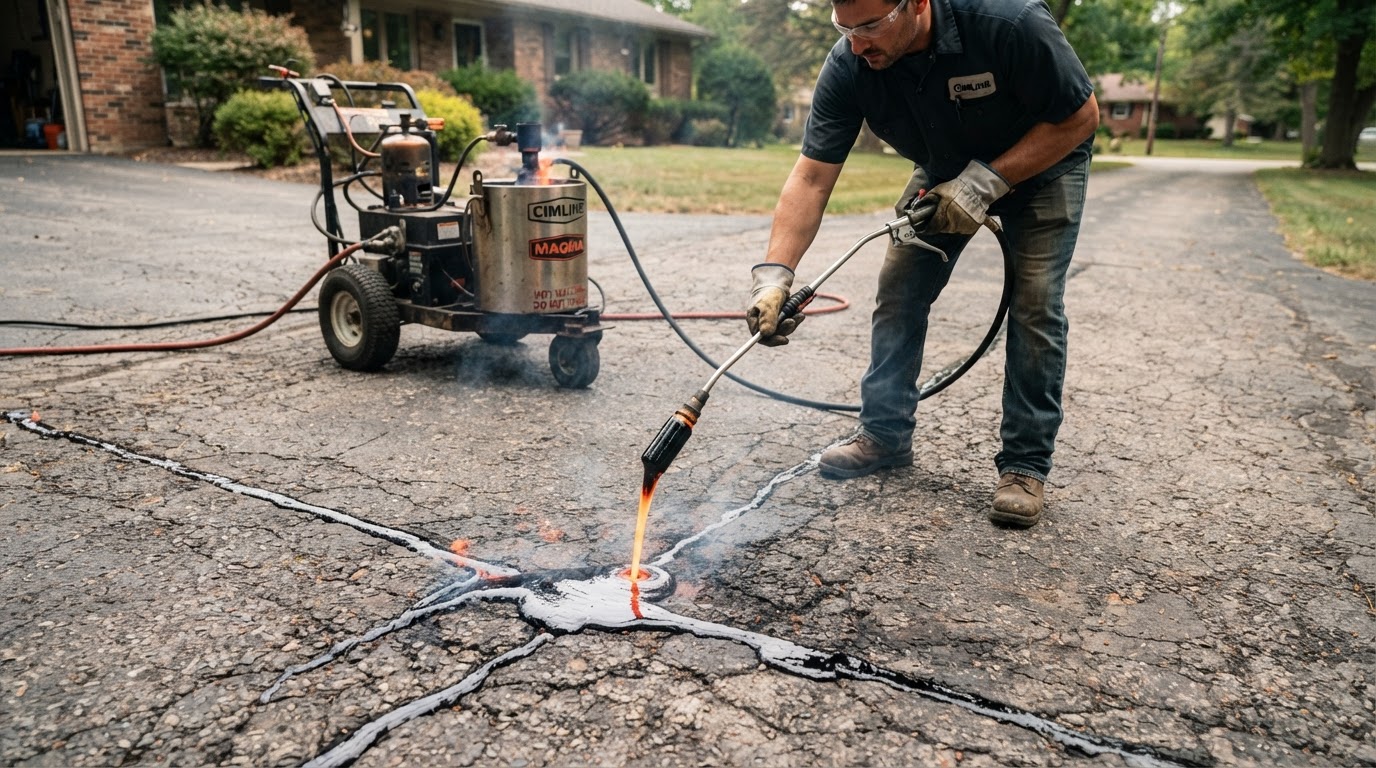
Hot-Pour Rubberized Crack Filler vs. Cold Liquid Fillers
Why commercial contractors use 380°F hot-rubberized crack sealants to stop sub-base water damage.
Read Guide → Advertisement
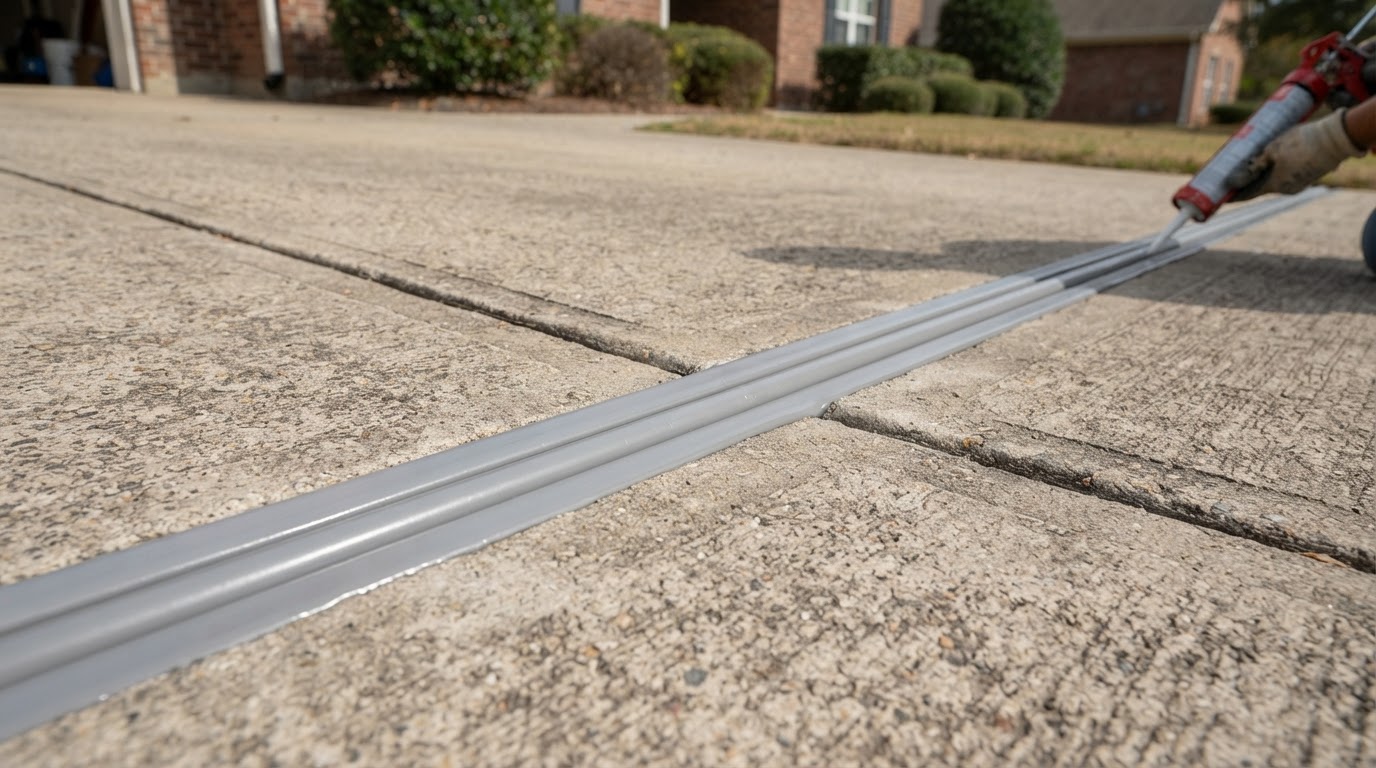
Why a closed-cell backer rod is essential for a long-lasting, flexible joint seal that handles slab movement.
A closed-cell backer rod sized 25% wider than the joint opening sits below the sealant, giving it an hourglass profile that flexes with slab movement. Without it, sealant adheres to the joint bottom and tears as the slabs shift. This small, inexpensive foam rope is the single most important component of a durable concrete joint seal, yet it is frequently omitted by inexperienced installers and DIYers. Understanding its role—and the correct technique for sealing an expansion joint—separates a repair that lasts a decade from one that fails in a single season.
Concrete expansion joints are intentional gaps left between slabs—or cut into a slab after pouring—to accommodate the thermal expansion and contraction of the concrete. As the concrete heats in the sun, it expands; as it cools at night or in winter, it contracts. Without joints to absorb this movement, the concrete would crack randomly as the stress built up. The joints are designed to open and close with this movement, and the sealant in the joint must be able to stretch and compress accordingly. This is why the sealant material and its installation geometry are so important.
The backer rod controls the sealant geometry. A closed-cell foam rope, sized 25% wider than the joint opening, is compressed and inserted into the joint to a depth that creates the correct sealant profile. The standard recommendation is a sealant depth equal to half the joint width, with a minimum of 1/4 inch. The backer rod sits at the bottom of this depth, supporting the sealant from beneath and ensuring it forms an hourglass shape—wider at the top and bottom, narrower in the middle. This hourglass profile is what allows the sealant to flex: as the joint widens, the narrow middle stretches; as the joint narrows, it compresses, all without the sealant pulling away from the sidewalls.
Without a backer rod, three things go wrong. First, the sealant fills the entire joint depth, bonding to the bottom as well as the sidewalls. When the joint moves, the sealant is locked at three surfaces and cannot flex; it tears at the weakest point, usually the sidewall, and the seal fails. Second, the sealant is too thick, and thick sealant cannot accommodate the same movement as a thin, properly shaped band; it cracks and splits. Third, the sealant sags into any voids beneath the joint, leaving an uneven, under-filled surface that collects water and debris. The backer rod prevents all three failures by controlling the depth, the shape, and the bond surface.
Self-leveling polyurethane sealant is the preferred material for horizontal joints like those in a driveway. Unlike non-sag sealants, which must be tooled and shaped, self-leveling polyurethane flows into the joint and finds its own level, producing a smooth, uniform surface that matches the surrounding concrete. It adheres tenaciously to clean, dry concrete, remains flexible across a wide temperature range, and is resistant to UV, water, and foot and vehicle traffic. It is the same class of material used on highway joints and commercial plaza decks, and it is far more durable than the latex caulks often sold for residential joint filling.
The installation sequence is precise. First, the joint is cleaned: old, failed sealant is removed with a knife or router, and the joint is blown out with compressed air to remove all dust and debris. The joint must be dry—moisture prevents the polyurethane from bonding. The backer rod is then compressed and inserted to the correct depth using a blunt tool, taking care not to puncture or score the foam, which would create a path for air to bubble up through the sealant. Masking tape is applied along both edges of the joint to keep the sealant off the surrounding concrete and to produce a clean, crisp line.
The self-leveling polyurethane is then poured into the joint, filling it to just below the surface of the concrete. The sealant flows and levels itself, and any bubbles are popped with a pin. The masking tape is removed before the sealant skins over—typically within 30 minutes to an hour, depending on temperature and humidity. The sealant then cures over 24 to 72 hours, during which it must be kept free of traffic and water. Once cured, the joint is sealed with a durable, flexible, UV-stable band that keeps water and debris out of the sub-base for years and moves with the slab without tearing.
For homeowners, the takeaway is that a properly sealed expansion joint—with a correctly sized backer rod and a self-leveling polyurethane sealant—is a small investment that prevents large problems. Water in an unsealed joint saturates the sub-base, leading to slab settlement, cracking, and the kind of structural failure that requires expensive repair. A contractor who fills joints with latex caulk, or who omits the backer rod, is not providing a durable seal. Asking for a closed-cell backer rod and a polyurethane sealant ensures the joints are sealed the way they should be, protecting the driveway and the base beneath it for years.
Looking for a qualified contractor? Browse our directory of driveway resurfacing professionals specializing in crack repair & joint sealing. Compare services, request quotes, and find the right specialist for your project.
AdvertisementWhy commercial contractors use 380°F hot-rubberized crack sealants to stop sub-base water damage.
Read Guide →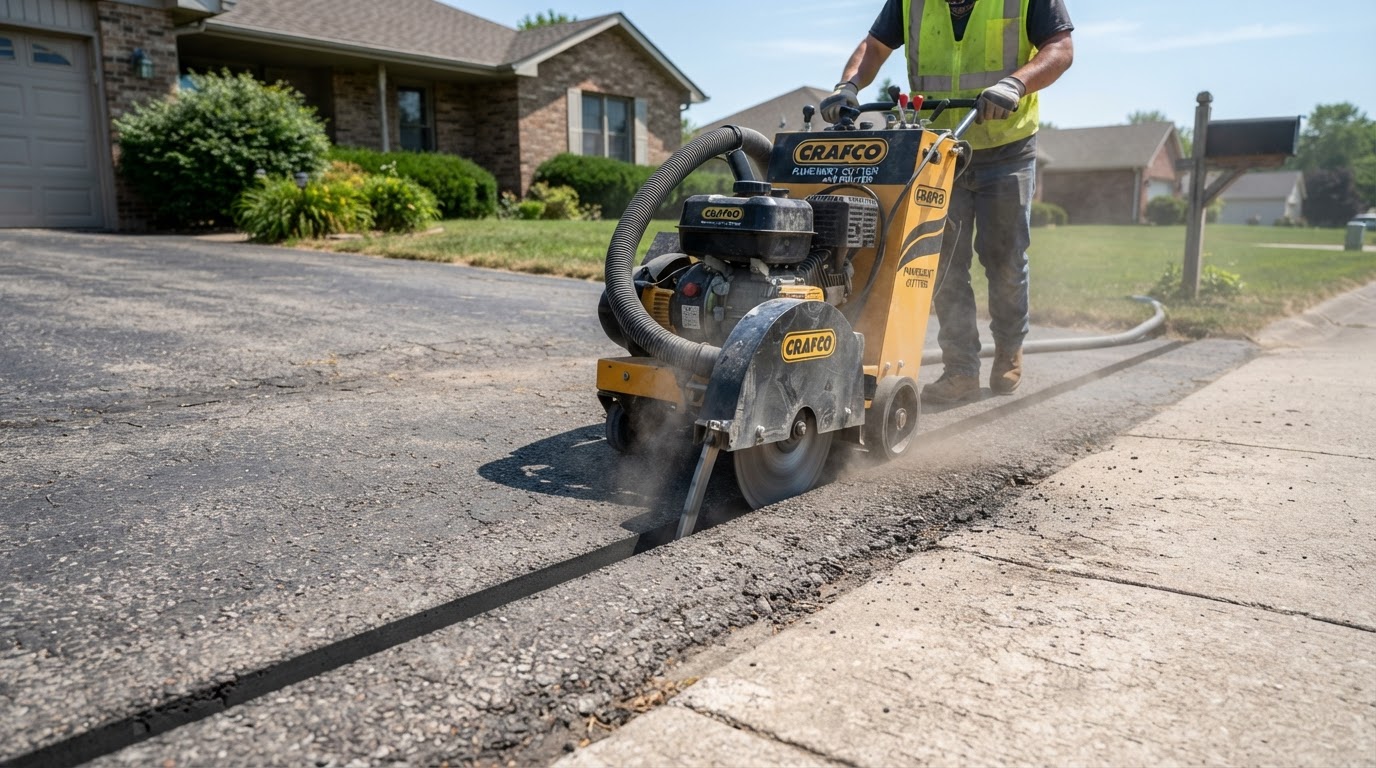
The professional method of saw-cutting cracks to a uniform width so rubberized sealant adheres and flexes properly.
Read Guide →Hot-pour rubberized crack filler, concrete expansion joint sealing.
Browse Crack Repair & Joint Sealing